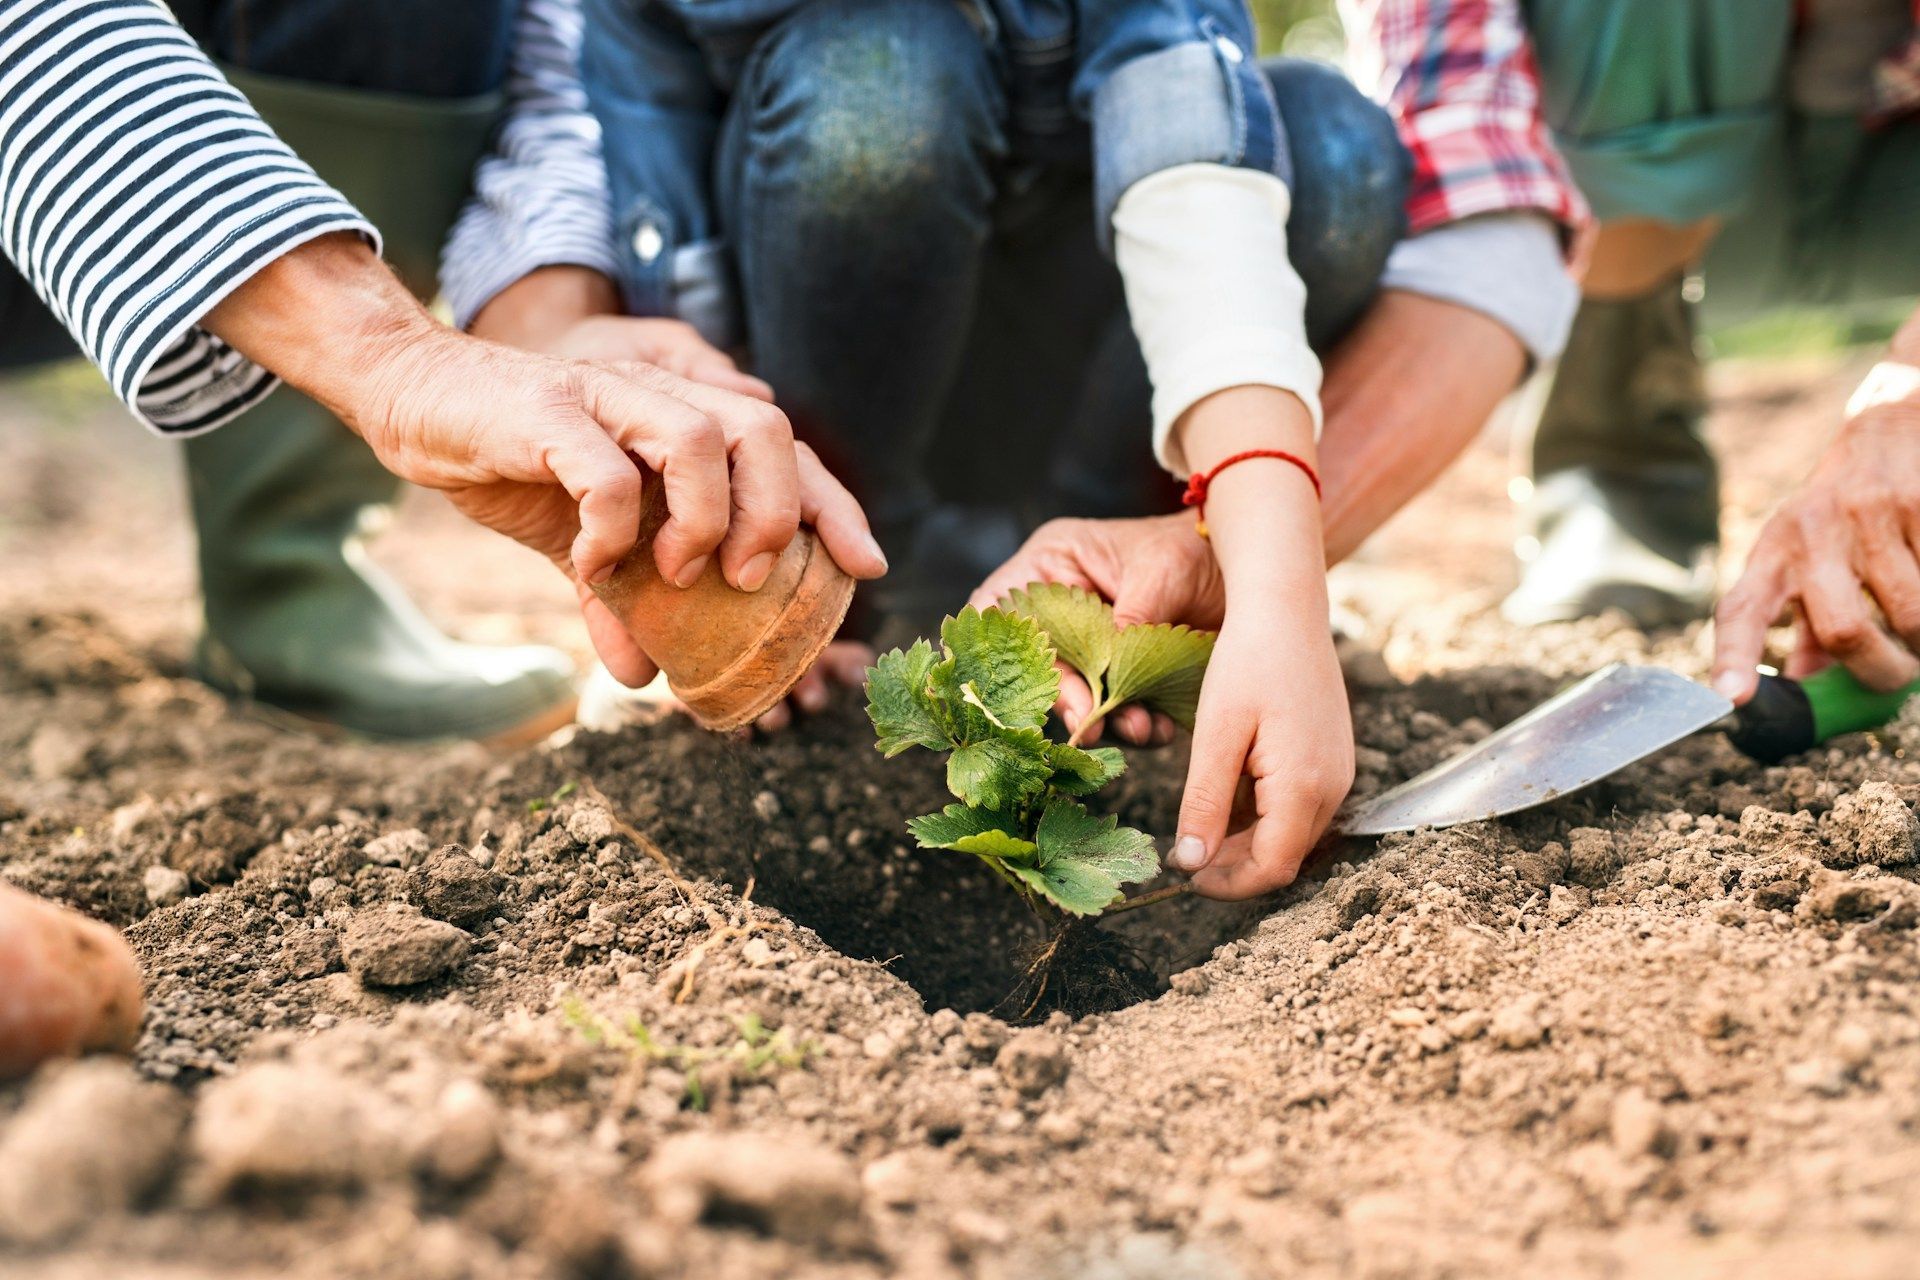

Imagine having the delightful aroma of fresh vanilla wafting through your kitchen as you bake your favorite treats. Extracting your own vanilla at home might seem like something only for the adventurous, but it's actually straightforward and rewarding. By creating your own vanilla extract, you enhance your culinary creations with a personal touch and enjoy the satisfaction that comes from using something homemade.
Whether you’re a budding chef or someone who enjoys experimenting in the kitchen, making your own vanilla extract can take your dishes to the next level. The process involves just a few ingredients and tools, yet the results are memorable. With a jar of homemade vanilla extract on your shelf, your favorite recipes gain a richness and depth that store-bought versions rarely match.
Gathering Your Ingredients and Equipment
Getting started is easier than you might think. Here's what you'll need:
- Vanilla beans
- 70-90 proof Vodka or another type of alcohol base
- Sharp knife
- Cutting board
- 4 oz to 8oz Jars with tight lids
- Labels for dating and identification
Vanilla beans are the star of the show, so quality matters. Look for beans that are plump, shiny, and have a strong, sweet aroma. The better the beans, the better the flavor in your final extract. Vodka is the most common alcohol base because it’s neutral in flavor, making it perfect for absorbing all that vanilla goodness. If you’d like to use another type of alcohol, just make sure it’s at least 70 proof so that it draws out the full flavor of the beans.
As far as tools go, you likely already have what you need. A small sharp knife and a cutting board are useful for prepping the beans. Jars with tight lids are crucial for storing your mixture during the aging process. Labels help you keep track of the start date and distinguish your extract from other projects or ingredients you might have stored.
Preparing the Vanilla Beans
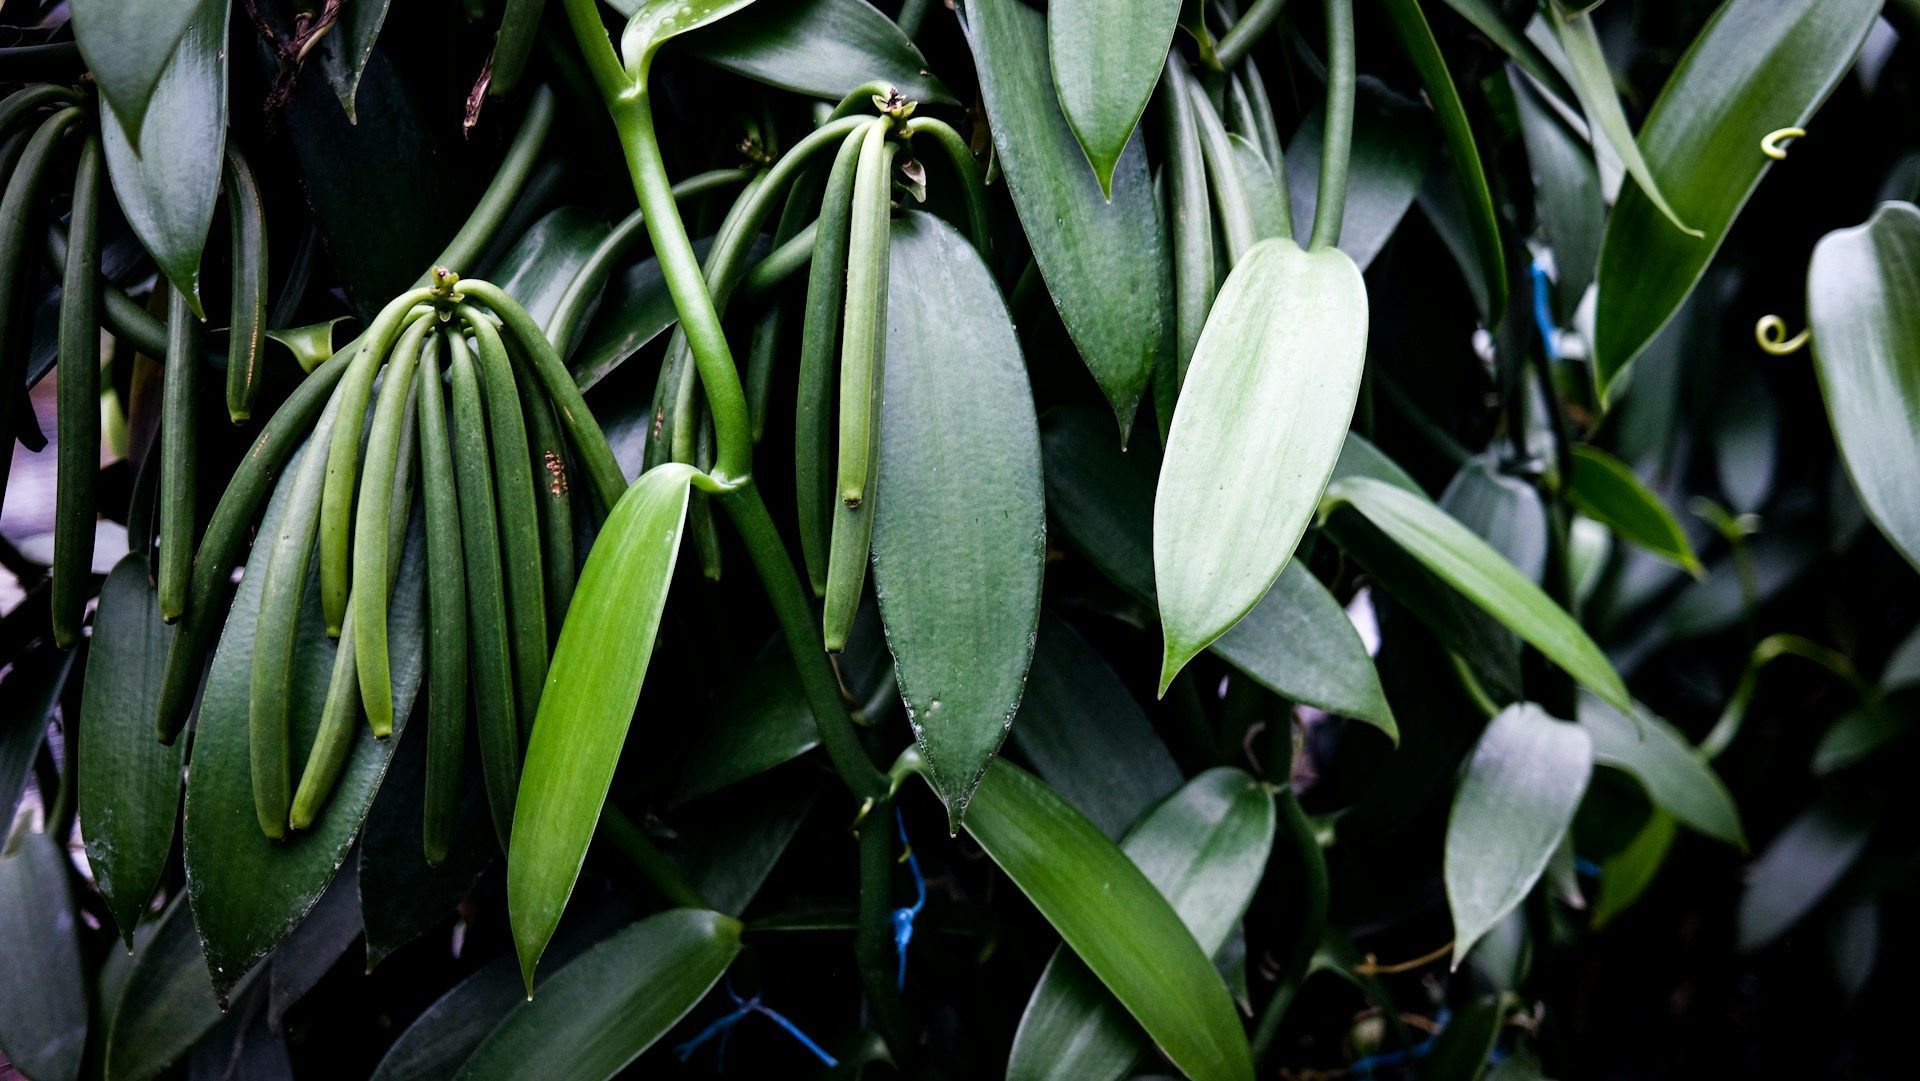
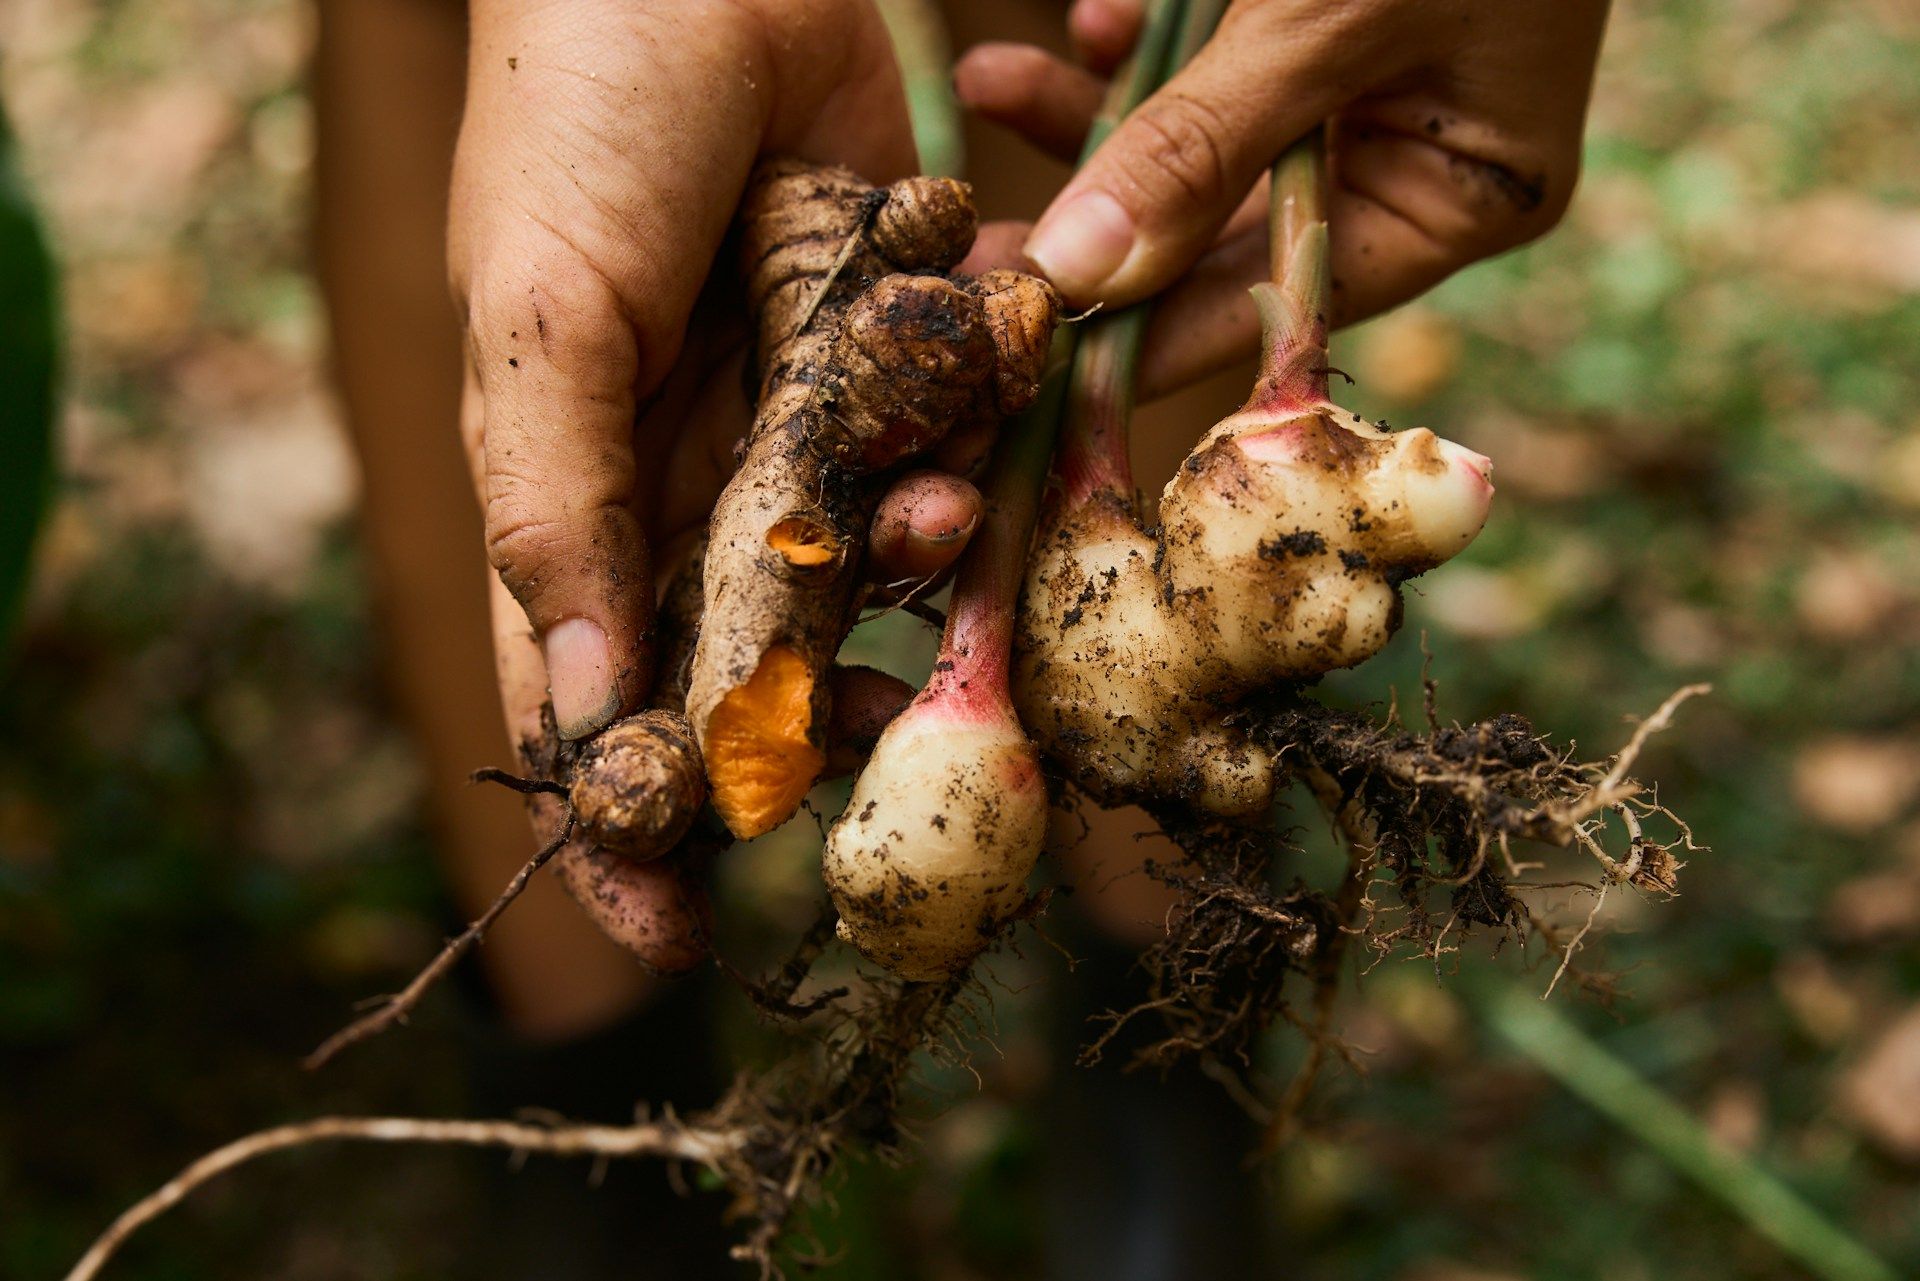
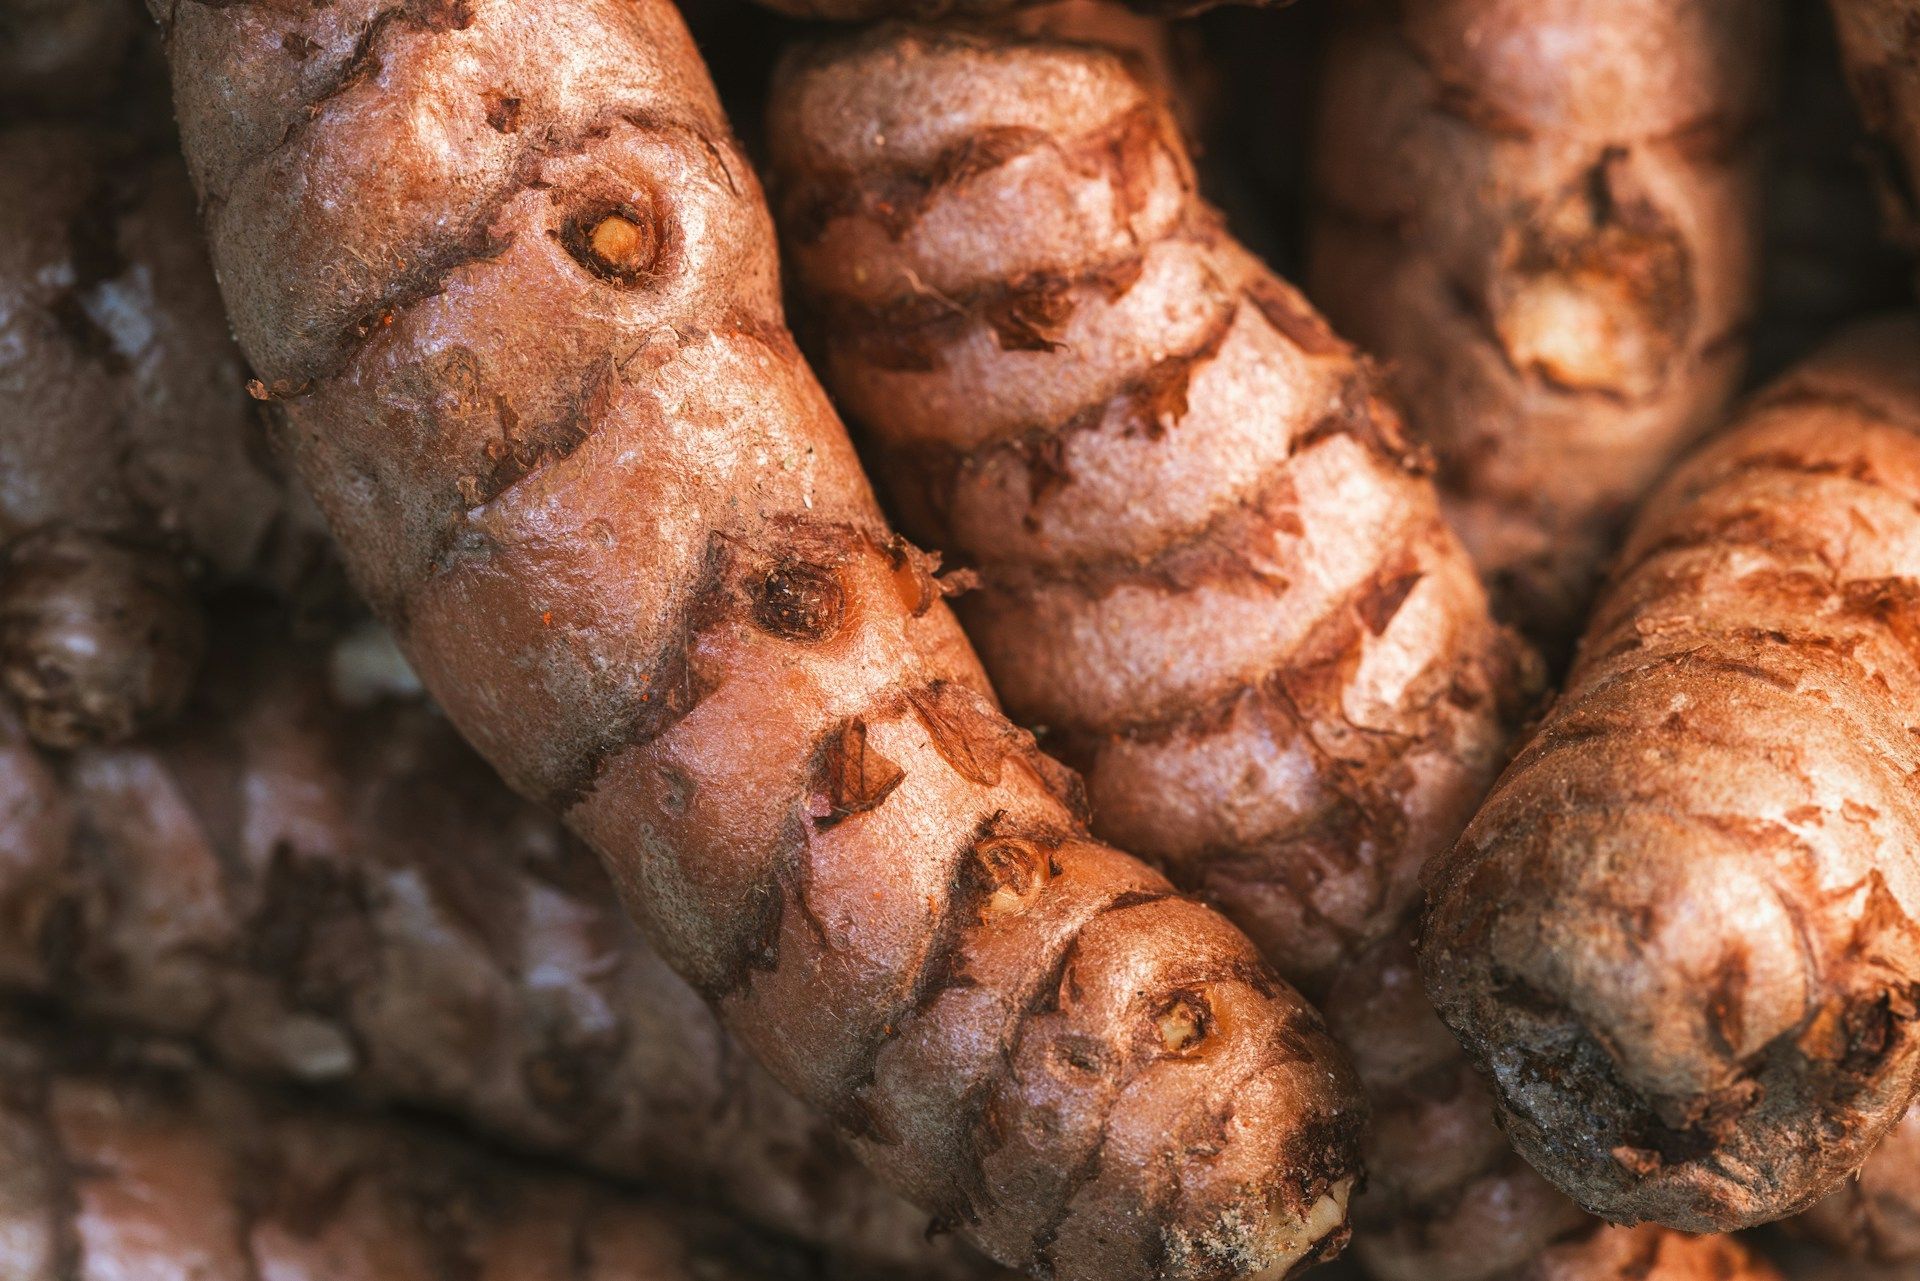
The best extracts begin with the best beans. When buying vanilla beans, inspect them closely. They should be moist-looking, bend easily, and release a fragrant scent. Avoid beans that are dry, cracked, or brittle, as they may not give you the robust flavor you're after.
Once you’ve selected your beans, it’s time to prep. Start by placing them on your cutting board. Using your knife, carefully slice each bean lengthwise. This simple cut opens up the pod and exposes the tiny black seeds inside. These seeds, along with the pod itself, hold the concentrated vanilla flavor that your alcohol will extract over time.
If your jar is short or narrow, feel free to snip the beans into smaller sections so they can fit fully submerged in the jar. Just make sure you still open them lengthwise first. The more surface area exposed, the more flavor you’ll extract.
Creating the Vanilla Extract
Now for the fun part. Here's how to assemble your homemade vanilla extract:
1. Combine Ingredients:
Add your split vanilla beans to the jar. For best flavor, use 1 oz of beans per 8oz of vodka. The more beans you use, the stronger and more flavorful your extract will be.
2. Seal the Jar: Make sure the lid is on tight to prevent any air from getting in and to stop alcohol from evaporating.
3. Give It a Shake: Gently shake the jar to mix the contents. This helps kick off the steeping process and starts blending the alcohol with the vanilla inside the beans.
4. Let It Rest:
Place your jar in a dark, cool area like a pantry or cabinet. Allow the extract to develop over time. A minimum steeping time is about six months, though many people prefer to let it sit for twelve months or longer. Once a week, give it a good shake to keep things mixed and moving.
Patience is key here. The longer your extract sits, the more intense the flavor becomes.
Storing and Using Your Homemade Vanilla Extract
Proper storage helps your vanilla extract reach its full potential. Keep the jar away from heat and light. Over several weeks, the liquid will darken into a rich amber color. That’s a good sign it's developing flavor and getting close to being ready.
Once it's reached the depth and aroma you like, it’s ready to use. Add it anywhere you’d usually use store-bought vanilla, such as in cookies, cakes, custards, muffins, and even unexpected dishes like roasted vegetables or savory sauces. Because homemade vanilla extract is often more concentrated, be mindful of how much you use. You might find yourself needing a bit less than usual.
Want to keep a constant supply on hand? Just top off your extract jar with more alcohol as you use it, keeping the beans covered. Over time, you’ll need to swap in some fresh beans, but this method lets you maintain a rolling batch of extract that’s always maturing.
Bringing the Flavor Home
Making your own vanilla extract is a simple project with lasting impact. From the moment you slice open your first bean to the day your extract is ready for use, it becomes something personal and rewarding. Each bottle holds a flavor you built from scratch, one that adds something special to your meals and desserts.
So next time you’re gathering baking ingredients, reach for your homemade vanilla extract with pride. You’ll not only taste the difference but feel the satisfaction of creating something from start to finish with your own hands. It’s a small change that brings big flavor to your kitchen.
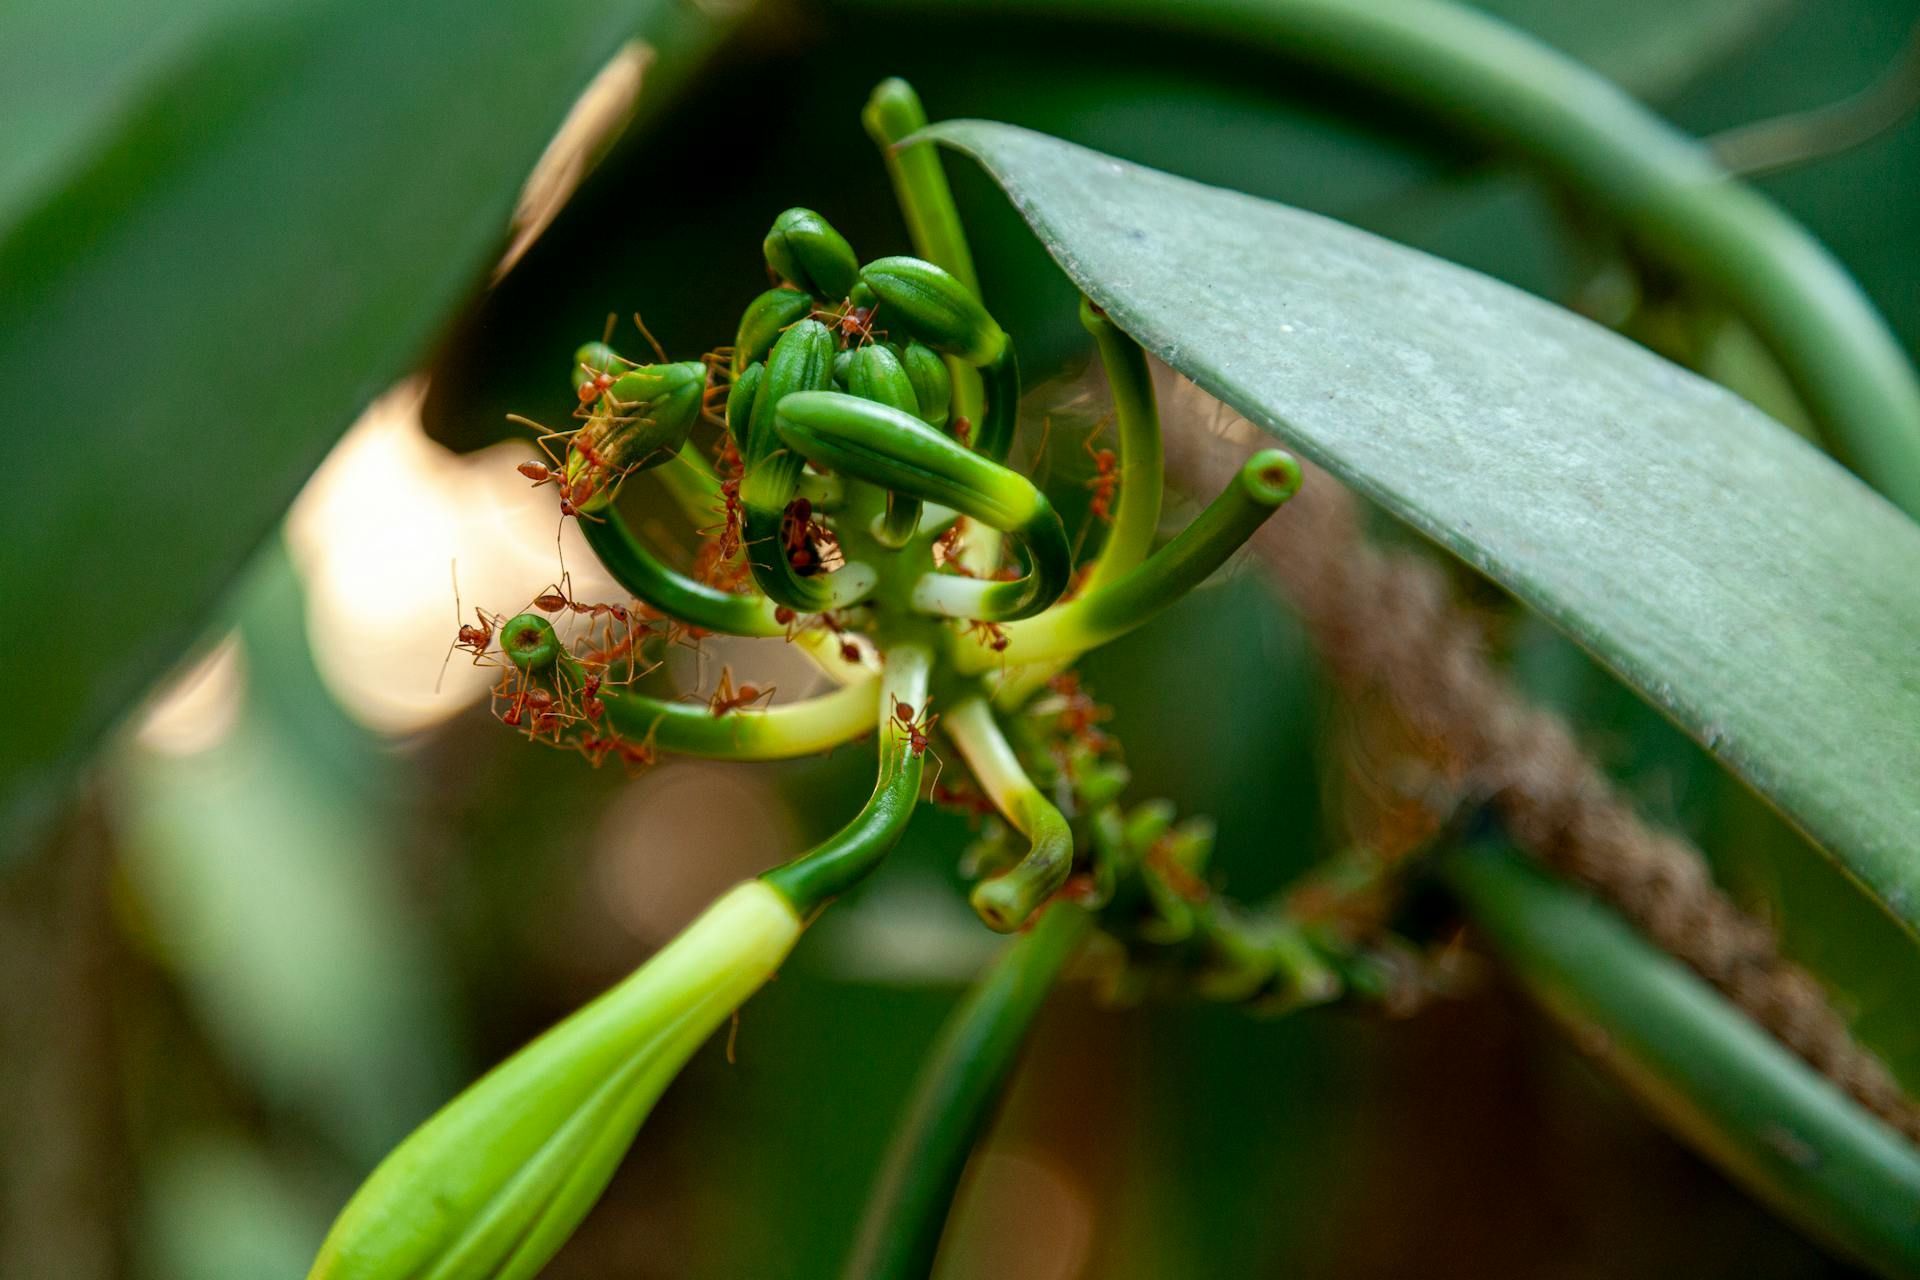
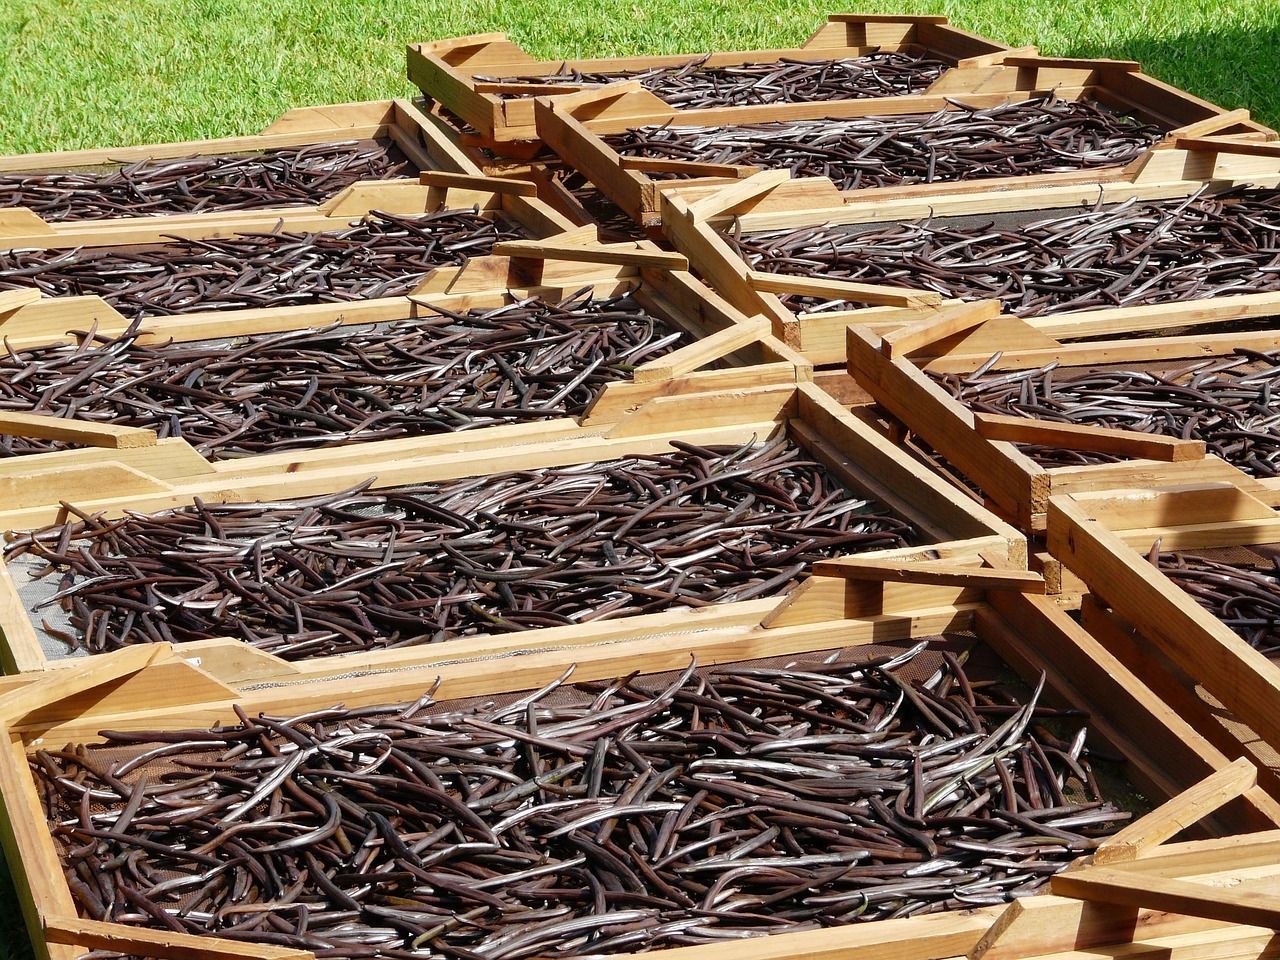
If you’re inspired to create your own vanilla extract from start to finish, take the next step and
grow vanilla beans in Florida. Sunshine State Vanilla offers healthy, Florida-grown plants that make it easy to enjoy fresh, homegrown flavor in your kitchen all year long.